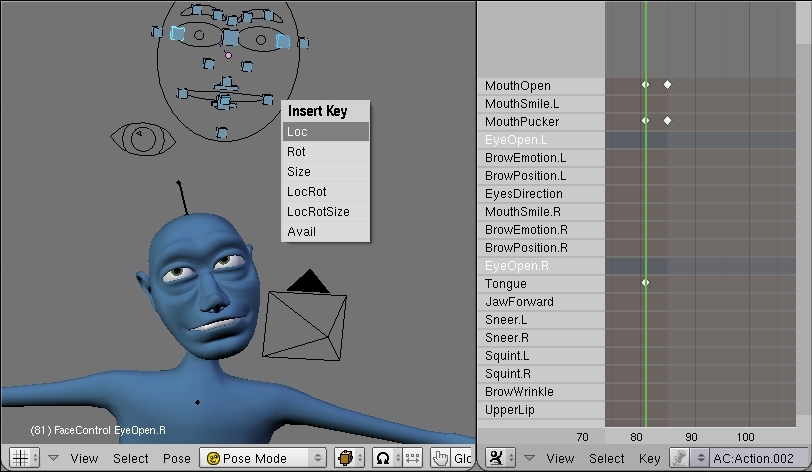
On frame 81, insert the location of the two eye bones (so that they're open).
On frame 86, close the eyes and insert the new locations. (This is a slower blink, which is why we didn't duplicate the one we just made.)

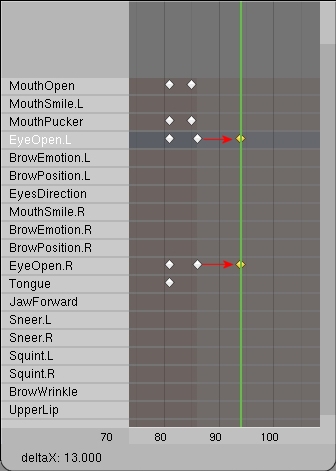
On frame 94, insert another keyframe for each EyeOpen.R and EyeOpen.L keeping them closed. (A nice loooong blink.)
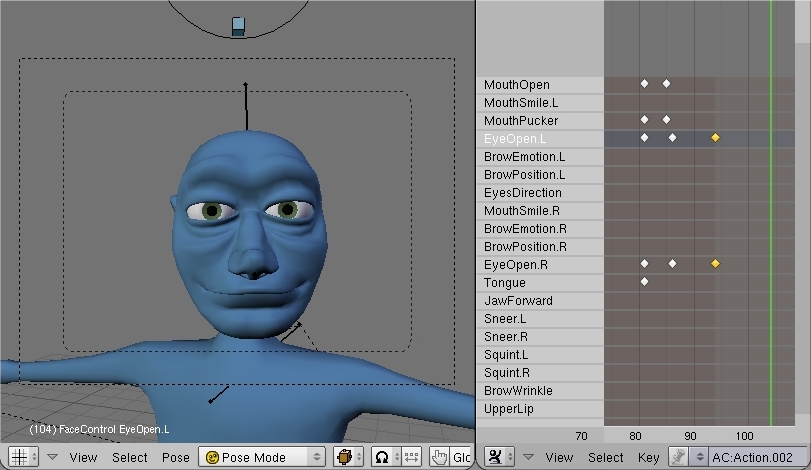
On frame 104, open the eyes and insert their new locations.
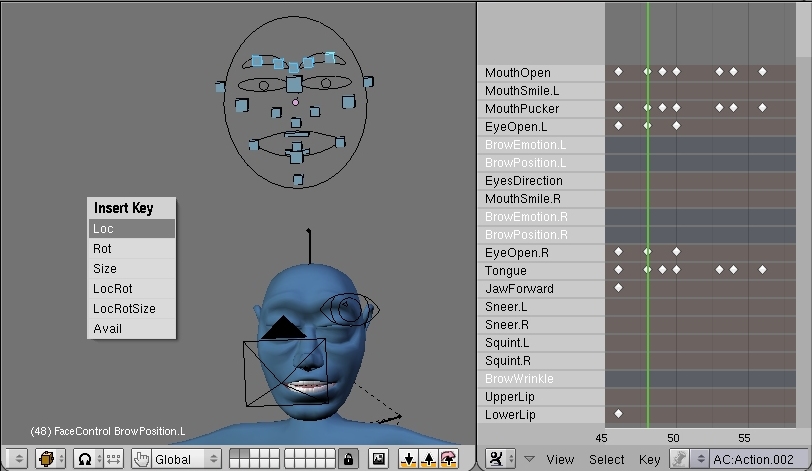
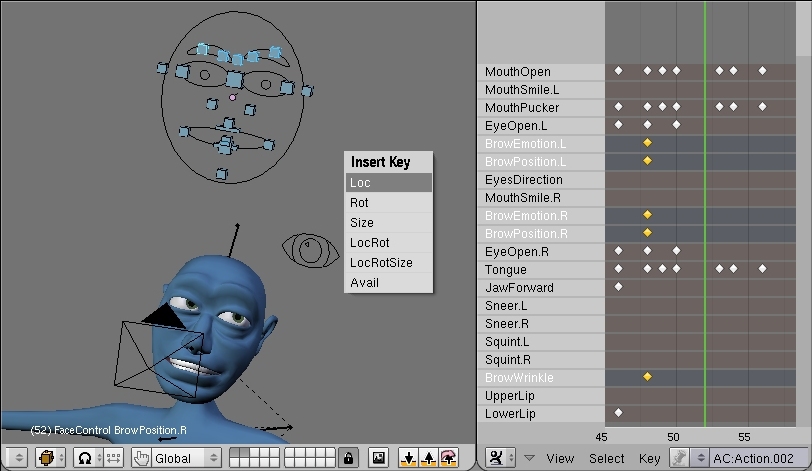
Now for the last thing, his brows. Go back to frame 48 and select the following bones: BrowEmotion.L, BrowPosition.L, BrowEmotion.R, BrowPosition.R, and BrowWrinkle. Insert their "rest" locations.
On frame 52, raise BrowPosition.L a bit, BrowEmotion.L a little less, and BrowWrinkle even less. Don't move BrowPosition.R or BrowEmotion.R, but insert all their keyframes.
Duplicate those new keyframes (remember to hold down Ctrl when moving them) to frame 63.
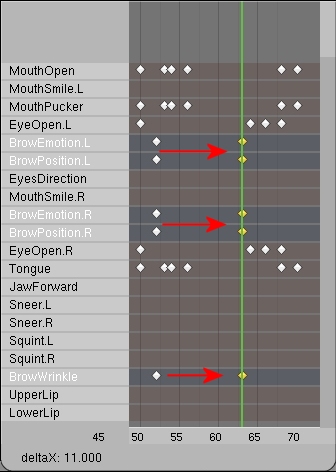
On frame 68, raise BrowPosition.R a bit, BrowEmotion.R a little less, and BrowWrinkle can come up a bit. Basically we're mirroring (without using the mirror option) our poses from frame 52. Insert all their locations.
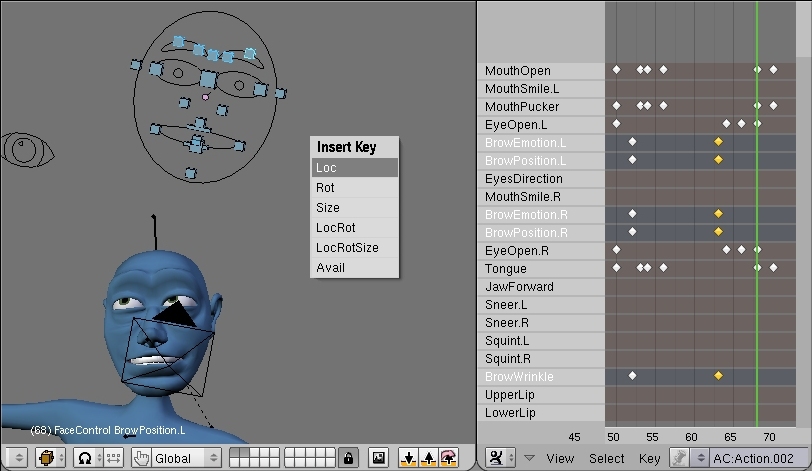
Finally, go all the way back to frame 48 and select the keyframes for the bones we've been working with (BrowEmotion.R, BrowPosition.R, BrowEmotion.L, BrowPosition.L, and BrowWrinkle) and duplicate them aaaall the way over to frame 88. (You may have to zoom out a bit in the Action editor, or make the window bigger to do this easily.)

And there you go. Set the framerate to 24, set your output frames, increase the quality to 100%, make your end frame 104, and press the Playblast button (the little landscape button on the 3D Window header) while holding down Ctrl. Oh, and be sure to be in camera view in that window. Now, my render seemed a little too snappy when he opened his mouth, so I simply went back and every time the bone MouthOpen had a keyframe in the open position, I closed it a little. As you can see the results are much better this time around. One other thing you can do to make it more interesting is to offset the blinks by a frame or two. By that I mean, make one eye's sequence of keyframes for the blink start a frame or two before the other eye. This works really well with long blinks (like the one in the beginning and at the end), on short blinks it's not that noticeable.
Remember, there is no "right" way to animate (though, I guess there are a few "wrong" ways). The techniques used in this animation are meant to be helpful suggestions. You don't need to use all of them, but by using many (or all) of them, you'll develop your own workflow and bag of tricks. I hope you have learned something by following this tutorial, are more comfortable animating, and had a good time on top of it all.
Nathan Dunlap, a.k.a. LGM